L curve lashes are the most distinctive and stylish of all the lashes. If you're looking for an L curl eyelash extension guide, you'll find all you need to know here, from the basics of how to apply them to the tools of the art.
Preparing process
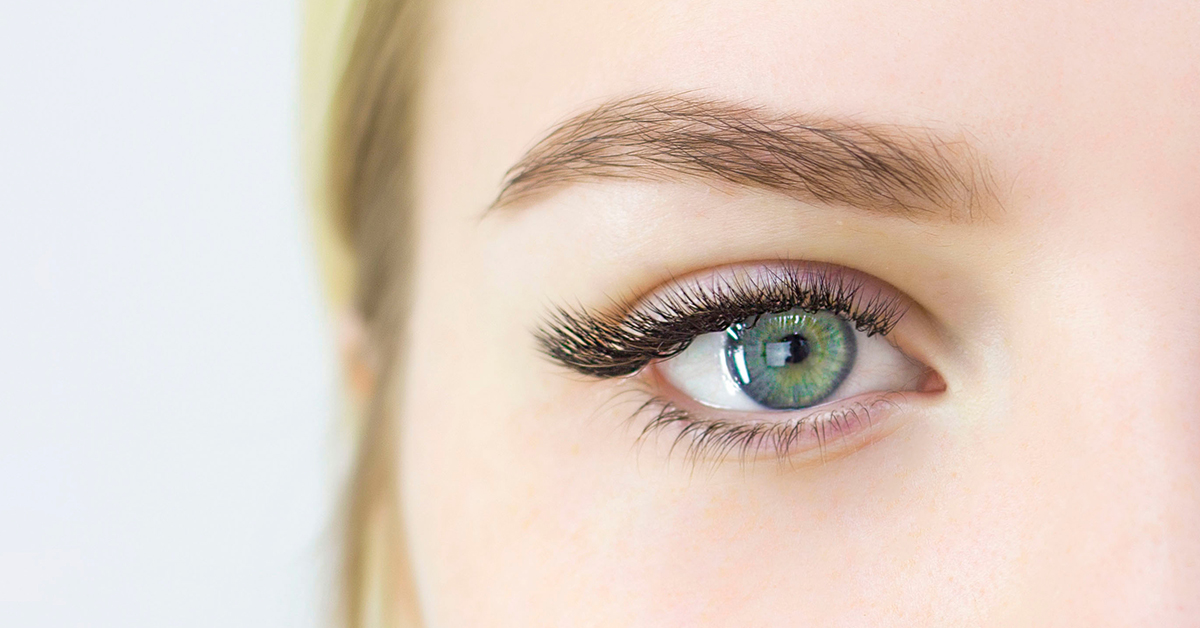
The L curl begins with a long straight foundation that curls in the center of the extensions. Curls with a longer base retain their shape better than curls with a shorter base. This curl is ideal for individuals with lashes that are straight or pointing downward. It can also assist raise and opening the eye of clients who have hooded or inset eyes.
Before performing L curve lashes, there is something you need to do.
See more: Everything you need to know about I curl eyelash extension
Placing eye pad
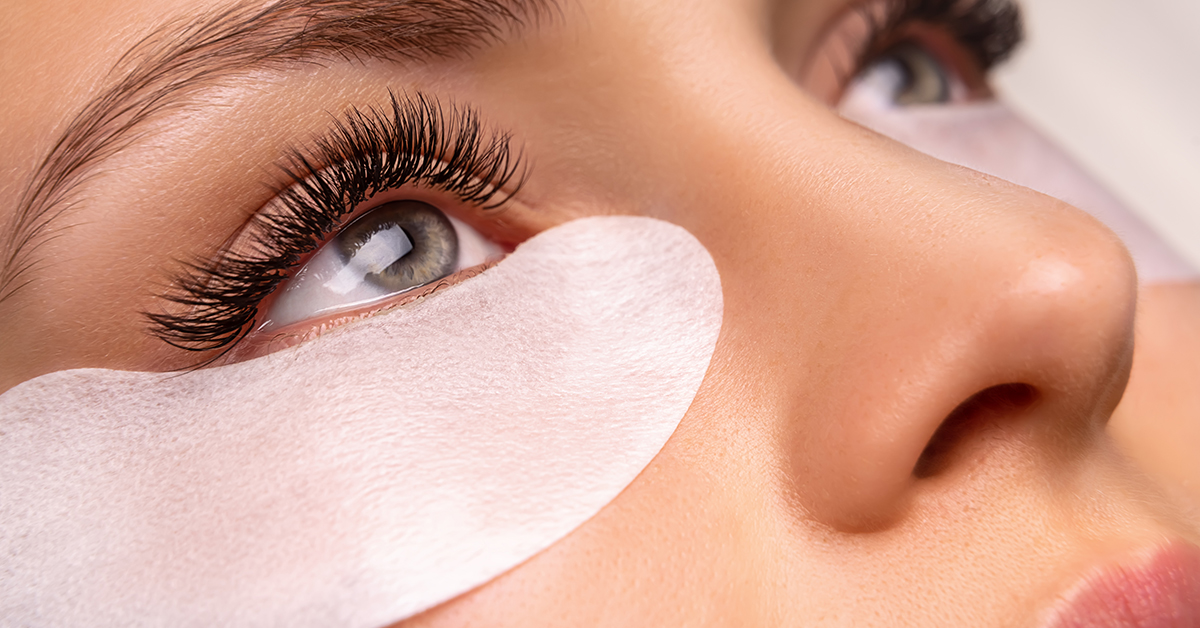
You must apply disposable eye patches or pads right below the client's eyes to preserve their skin while also providing a platform for fanning out their fluttering lashes.
It should be around 3mm from the lower lash line; anything closer might harm the natural lower lashes and the lid's delicate skin.
Selecting eyelashes
Eyelash extensions come in a variety of lengths and colours, so it's crucial to pick the proper ones for the client's needs. However, not every style will flatter everyone, which is why lash mapping is so important for each client.
Designing a map of what eyelashes should go where is known as lash mapping. You may buy eye pads with a guide already attached, or you can make your own.
By doing so, you'll be following the natural development of the lashes while also using lash extensions to offer your clients the most natural look possible while also enhancing their natural attractiveness.
Then you must pick the lashes; normally, lash extensions range in length from 8mm to 14mm, however, you may also choose specialty lengths. The shortest lashes should be at the inner corner of the eye and the longest in the middle.
It's not uncommon for clients to want the longest lashes possible in the hopes of appearing like Kim Kardashian following their treatment, but if done incorrectly, this might look too false.
It's vital to remember not to gradient the whole lash line; instead, mix and match the lengths since natural lashes are at various stages of development along the line.
See more: l curl lashes vs d curl: a brief comparison
Implementing process
Here are the step-by-step instructions for applying L curve lashes.
Picking up eyelashes
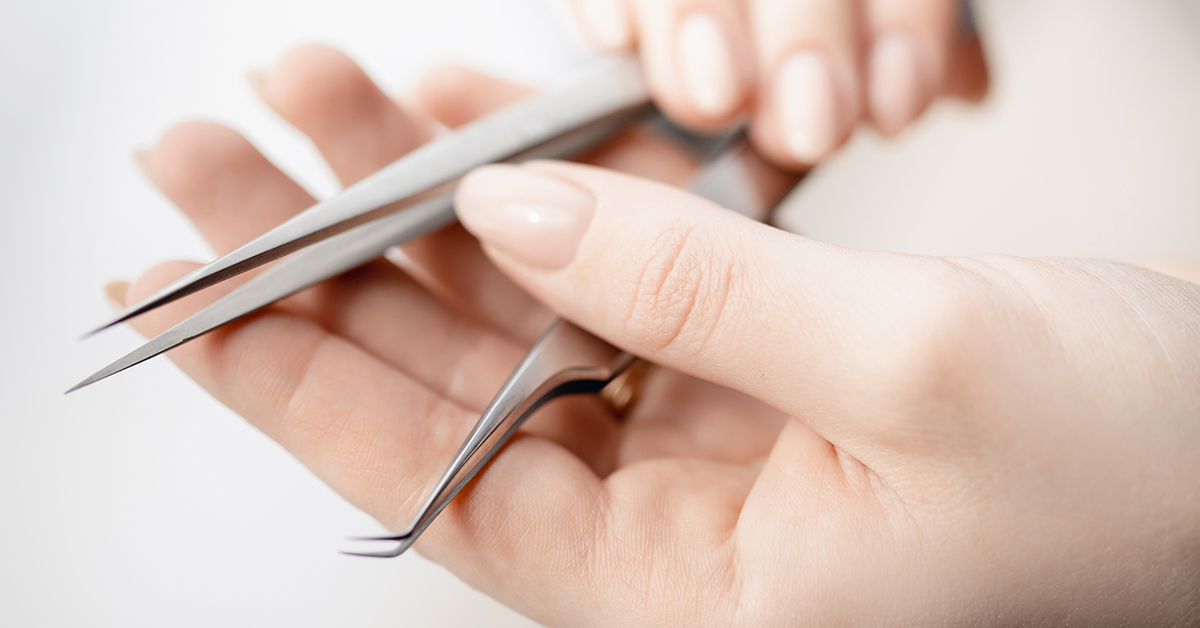
This is where you'll learn the value of a good pair of tweezers. Knowing which tweezer to use comes with practice, so if you're just beginning out and using a straight tweezer, make sure the lashes are picked up at a 90-degree angle.
There are a variety of tweezers on the market, ranging from traditional pick-up tweezers (which most lash artists prefer) to curved, fan, and isolating tweezers. Each one has its own set of advantages, so purchasing the entire set is worthwhile.
Carefully pick up the eyelash extension a few millimeters from the lash base and gently tweeze them upwards from the box; otherwise, you risk damaging them.
Gluing
For each client, use a high-quality adhesive and double-check that the container hasn't gone bad; clumpy, old dry glue might be difficult to apply.
Fill a glue palette halfway with adhesive and carefully dip the base of the extension into it. You only need a small quantity, so if you think you've used too much, wipe it off with a lint-free cloth.
Applying the eyelash extensions
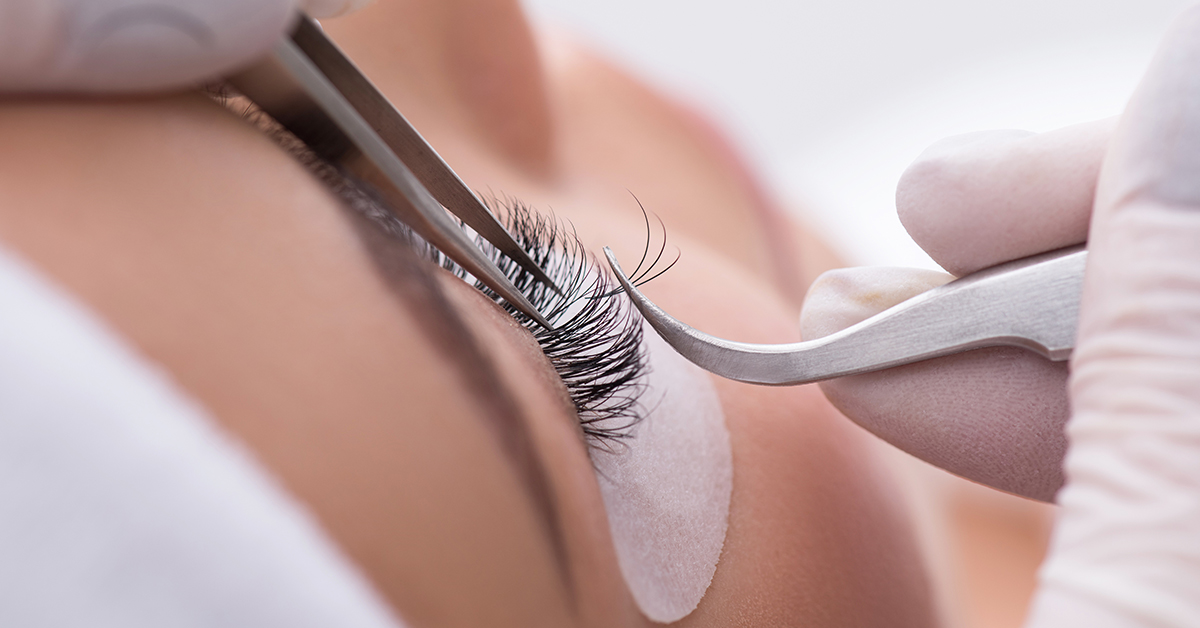
Isolate the natural lash using a curved tweezer and apply glue from the base to the tip, fusing the two together. Apply the extension to the natural lash around 1mm from the base.
You should remove any extra glue before drying and parallel the L curve lashes to the existing lashes. Rep, alternating between areas or eyes so that each eyelash has a chance to dry.
If any of the extensions are clinging together, use tweezers to separate them horizontally. If you pull vertically, you risk undoing all of your previous efforts.
Dry
Your client will be eager to see the results once everything has been administered, but they must wait 3-5 minutes before you take the eye pads then they may open their eyes.
Using an immediate cure can assist speed up the procedure while also eliminating glue smells, which can be irritating to clients.
With the right skill and tools, you may create an amazing eyelash set. The LLBA Professional L curl lash collection was created with attention to providing your clients with a wonderful lift and attractive appearance not only to the eye but also to the face. Their lashes have the ideal curl to provide lift to a day-to-day appearance without looking too harsh.
Above is how to use L curve lashes to get a glam effect. Hopefully, this tutorial will assist you in improving your skills and satisfying your clients.


