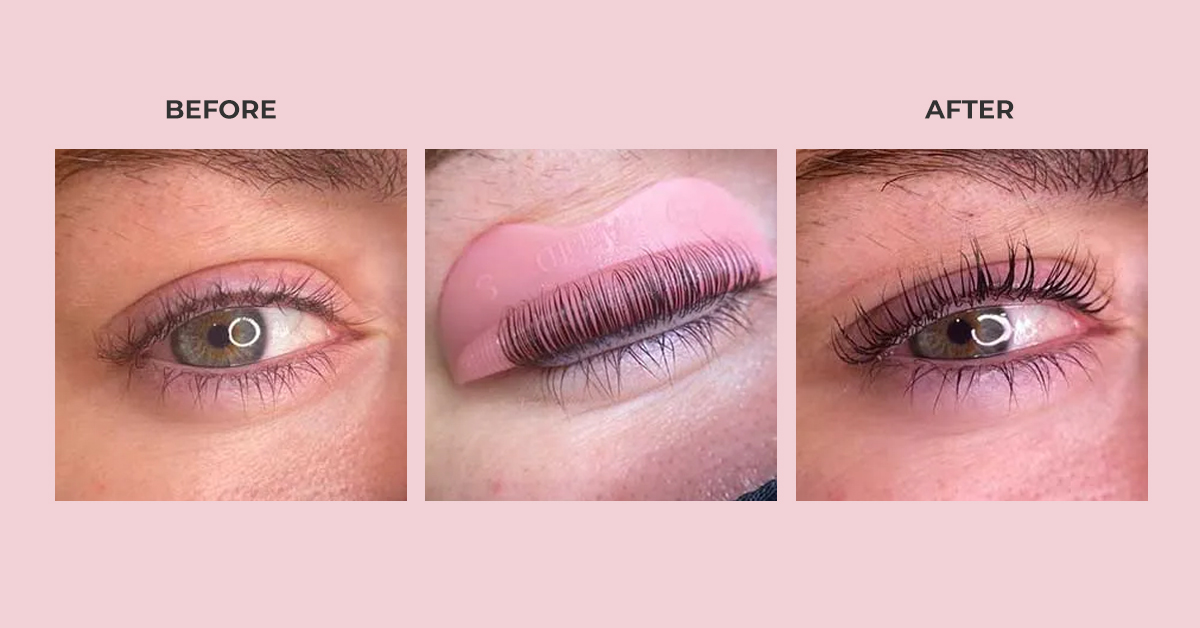
Lash lift is a service that can help them from having to use mascara every day as it makes them uncomfortable, takes a lot of time, and sometimes leaves streaks in the eye area. Or they do not have too much time for eyelash extensions and regular eyelash care. Or just because they like simplicity but effectiveness. The lash lift procedure is a great solution that you can confidently recommend to them. Here are simple and quick lash lift steps for you.
See more: Things To Know Before Adding Lash Lift To Your Service
First, you need to understand the lash lift process properly.
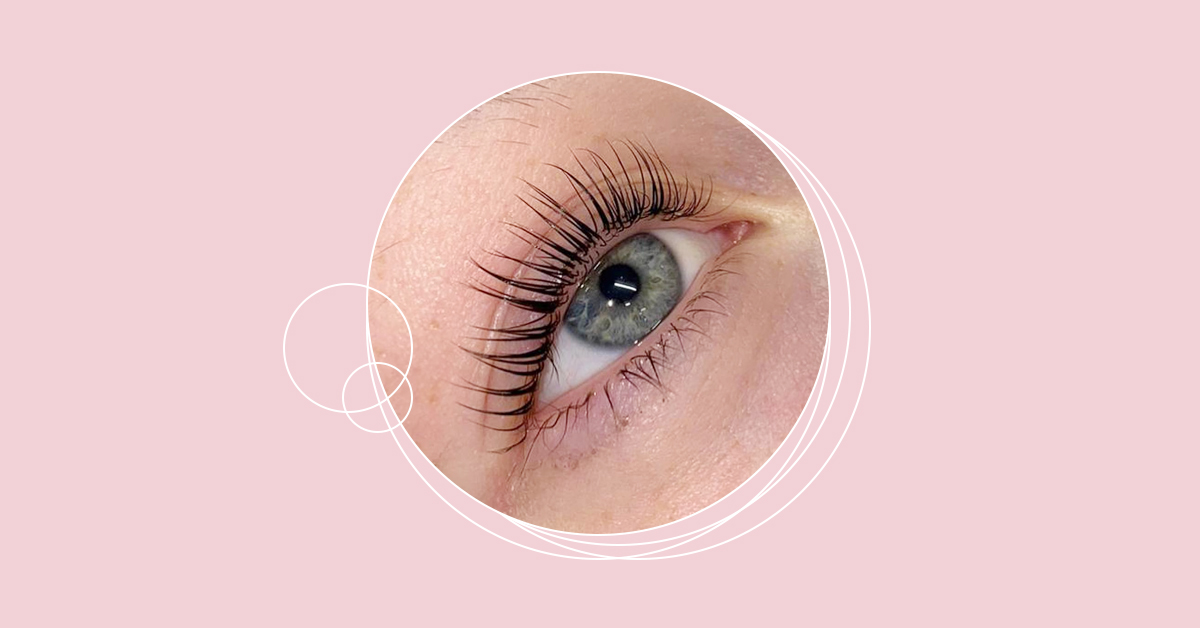
The lash lift process is a method that directly enhances real eyelashes, helping normal straight eyelashes to curl up with a curvature that can be customized naturally. The process of lash lift is to put the eyelashes on a lift pad with a thin layer of glue pre-applied, then use a specialized tool to brush the eyelashes so that they stabilize, then apply a special product to curl and fix the eyelashes. This method of chemical eyelash curling is performed on 100% of natural eyelashes, so there is no fear of heavy eyelashes compared to other methods.
A quick guide to lash lift procedure:
You will need a lash lift kit, typically Collagen Lash Lift and Brow Lamination Pro Kit by LLBA - LLBA CA (llbaprofessional.com), one of the products selected by many professional technicians recently. Of course, you can refer to similar product sets in other brands.
- Step 1: Check the natural eyelashes and advise clients:
We need this step because each client will have natural lashes with different thicknesses, lengths, and health. Therefore, you need to talk to them and confirm the desired curvature to make a reasonable choice in the lash lift process.
- Step 2: Clean the eye area
This is always an important step and should not be overlooked whether you have an eyelash extension or a lash lift procedure. In all lash lift sets, there are specialized products to clean. However, prioritize gentle products that can remove sebum, dirt, or makeup on the client's eyelashes without irritating the skin and eyes. A note for this step is to try removing the lashes at risk of breakage since they will interfere when you perform the lash lift procedure.
After cleaning, ensure the eyelids are dry, and the eye pads are applied. It would help if you chose those containing collagen to nourish the client's eye skin. In addition, many professional technicians also recommend using adhesive tape to fix the eyelids. This helps to apply the lift pad without directly affecting the sensitive skin of the eyes.
- Step 3: Place the lift pads
Once you've chosen the right size lift pads for your client's natural lashes, you'll put them on the base of the lashes. Do not place it too close but also not be far from the base of the eyelashes. The amount of glue (#1) should not be too much. You will be surprised, but when you do the lash lift process for the first time, new techs are always worried that the lift pads won't stick tightly enough to the skin, so they use too much glue. You must wait for the lashes and the lift pad to dry completely before taking the next step. In addition, you can use special tape to fix the two ends of the lift pads to fix them.
- Step 4: Lift lashes
After the lift pad is fixed, you continue to use glue to apply the upper side. Next, use a Y brush to stabilize lashes and move them from the outside to the inside. This step needs you to be patient and ensure the eyelashes are separate, not crossed. It is an important step in the lash lift process, so be careful not to miss lashes or the lashes not firmly attached to the lift pad. You can apply more eyelash glue if needed.
- Step 5: Use perm lotion
In the LLBA brand's professional lash lift kit, you'll find a product called Perm Lotion (#2) to apply to the lashes that have been fixed in the previous step. This should also be done evenly and from the outside to the inside with a cotton swab. Next, set a time to let the lotion dry. Depending on the actual lashes and the desired curl, the wait time can range from 4 to 5 mins.
- Step 6: Check lash curvature
In this step, you need to evaluate the curvature of the lashes after being curled. Next, use a cotton swab to wipe off the lotion from the first time. Use Fixation Lotion (#3) and follow the same steps as step 5. The incubation time at this time can range from 6 to 8 mins depending on the actual situation.
- Step 7: Nourish your lashes.
After the incubation time and the lashes achieve the perfect curl, you need to clean the eyelashes with a cleaning solution. You can use micro brushes or cotton swabs to separate the lift pad from the real lashes. Then, use Nourishing Lotion (#4) to apply a layer of eyelash care to the client. In the lash lift process, this step requires you to do it gently, avoiding damage to the eyelids and discomfort for the client.
- Step 8: Clean lashes
This is the final step in the process of lash lift. You need to ensure that the lashes after the treatment are separate and have the curl and regularity required by the client. Eyelashes are also cleaned, not causing discomfort to their eyes.
Finally, always remind the client about taking care of their lashes after the treatment, especially not letting them be exposed to water directly within 24 hours and not rubbing the lashes. An eyelash lift can last 6-8 weeks if the user regularly uses specialized eyelash care products.
We hope the article today helps you gain a general knowledge of the lash lift process. Follow our next post to have more information on the lash lift!


